

If you are not cleaning your paint sprayer after use, you are setting yourself up for a true disaster. Paint sprayers are excellent pieces of equipment, but they do have an Achilles heel. Clogs.
Not only do clogs kill your productivity but they also just are not good for the tool. While you will bump into them from time to time for reasons that may be outside of your control, good cleaning practices can go a long way toward helping you avoid issues.
Today we have assembled a guide of useful tips that will help you clean your paint sprayer and avoid clogs.
Step 1 Prepare the Sprayer
First, you need to get the sprayer ready to be cleaned. Turn off the power, and make sure that the pressure is set to the lowest level possible.
To ensure that the maximum amount of pressure has been relieved, you can feel free to activate the spray gun.
You will also want to turn down the prime valve into the open position and remove the filter and tip components.
Step 2: Clean the Smaller Parts:
For the smaller parts, like the tip and the filter pieces you are going to want to use a washing fluid, which usually consists of water and paint thinner.
This part is a little bit tedious, but it also should not be much of a challenge.

Step 3: Remove the Siphon Tube:
Now it is time to remove the siphon tube from the paint. Once the tube has been removed, place it in a flushing solution.
Ultimately, what sort of flushing solution you use will depend on the type of paint that was used. Water-based paints can be removed with a water-based solution, while oil paints will require mineral spirits.
You might also be interested in: 10 Best Paint Sprayers – Reviews & Top Picks
Step 4: Flush it Out:
Now that the siphon tube is out of the paint, and in flushing fluid, you can use the sprayer gun to flush out the entire system.
Turn the power back on, and activate the trigger mechanism until you begin to see the flushing fluid come out of the spray gun. You will want to do this until the flushing liquid comes out clear.
Once you have you have done this, allow the fluid to circulate for several minutes in the prime valve as well.
After that, you are done, and you can begin reassembling the sprayer!
Keep in mind that some spray systems feature garden hose valves. With this feature, you can hook the sprayer right up to the garden hose and flush it out much quicker.

Conclusion:
Unless the manufacturer of your paint sprayer helped you out with a maintenance-friendly design, cleaning out your sprayer is often going to feel a little bit tedious. That’s just the reality of the situation.
But while cleaning may always feel like a chore, doing it is really going to help you out in the long run. Now that you have read this guide, you shouldn’t have any problems giving your sprayer the clean that it deserves.
By following this guide you will quickly find that you have less clogs and more productivity than ever before.
Related Reads:
- HOW TO MEASURE A CHAINSAW BAR
- HOW DOES A SCROLL SAW WORK? (WITH PICTURES)
- HOW DOES A CIRCULAR SAW WORK? (WITH PICTURES)
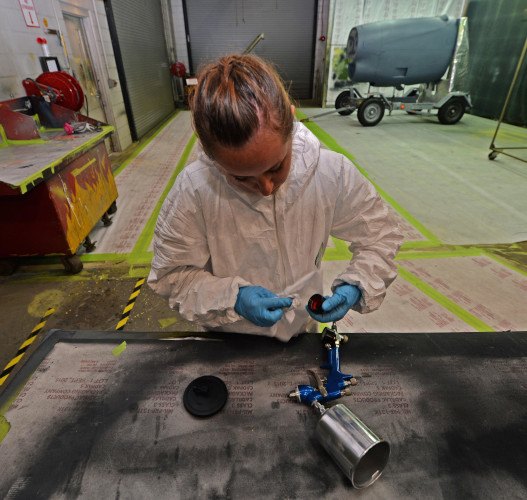
Featured Image Credit: Abner Guzman, Team Macchord
Contents