
Surprisingly, gluing fabric to wood can be a bit difficult. You can’t use your average craft glue, or the fabric is just going to pull off. You’ll also need to prepare the wood appropriately, or the whole process will be futile.
Luckily, you can attach the fabric to wood securely if you use the right equipment and techniques.
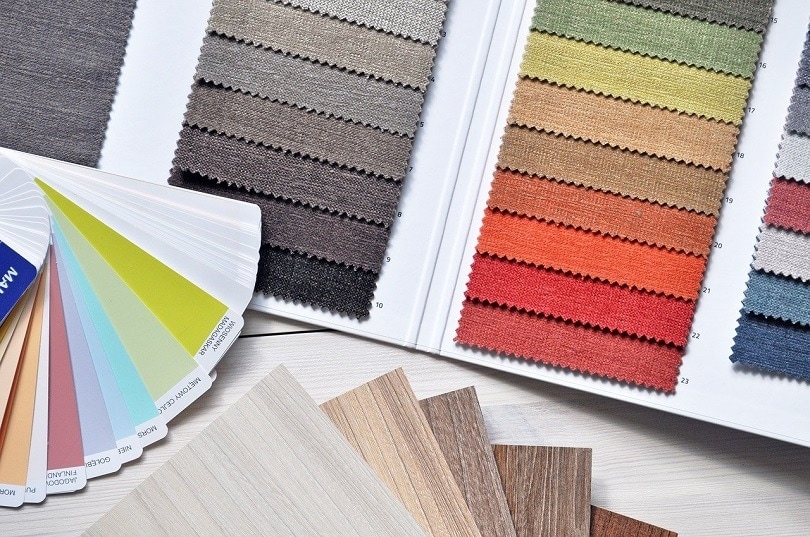
1. Gather Your Materials
You will need your wood and your chosen fabric. Be sure you have enough fabric to cover your chosen piece of wood. You don’t want to run out of materials halfway through.
Then, you will need to purchase some Mod Podge. This is one of the few adhesives that you can use to attach the fabric to wood. Other adhesives won’t work or will show through the fabric. Some may even damage the fabric, so be sure to purchase Mod Podge.
2. Sand the Wood
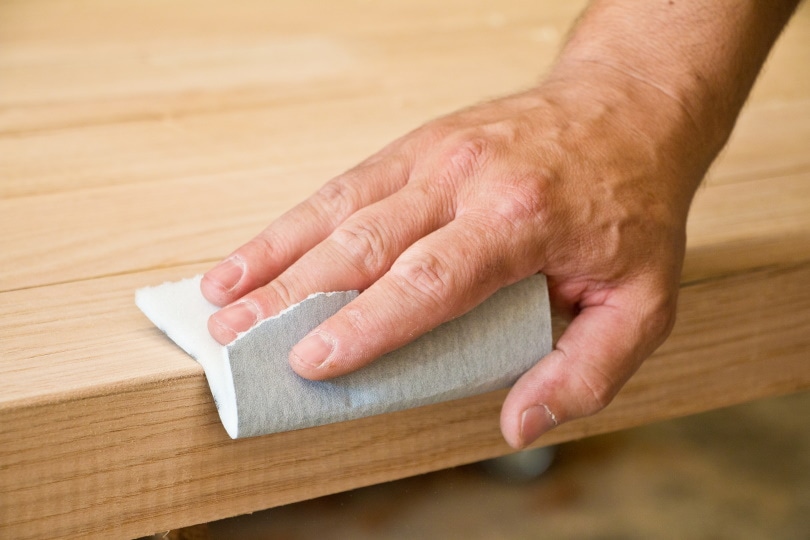
Before you begin, sand the wood with 100-200 grit sandpaper. The wood needs to be very smooth so that the adhesive will stick appropriately. Otherwise, the fabric will pull off. Make the surface as smooth as possible. Do not rush this step, as it is essential.
3. Clean the Wood
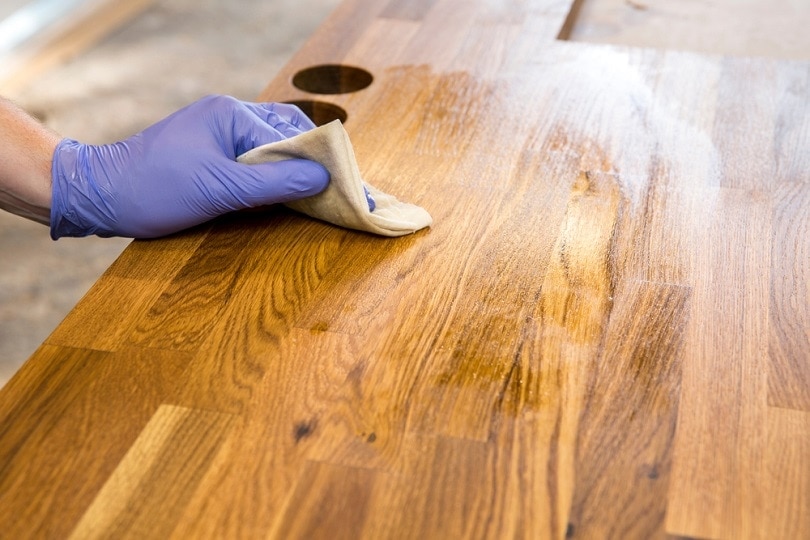
Take a damp rag and wipe down the surface of the wood. This will remove any dust and debris that was created by the sanding process. You don’t want to dampen the wood thoroughly, so ensure the rag is damp and not soaking wet.
4. Let the Wood Dry

Adhesive won’t stick to wet wood, so let it dry completely after cleaning it. Make sure the wood is completely dry, and then let it dry some more.
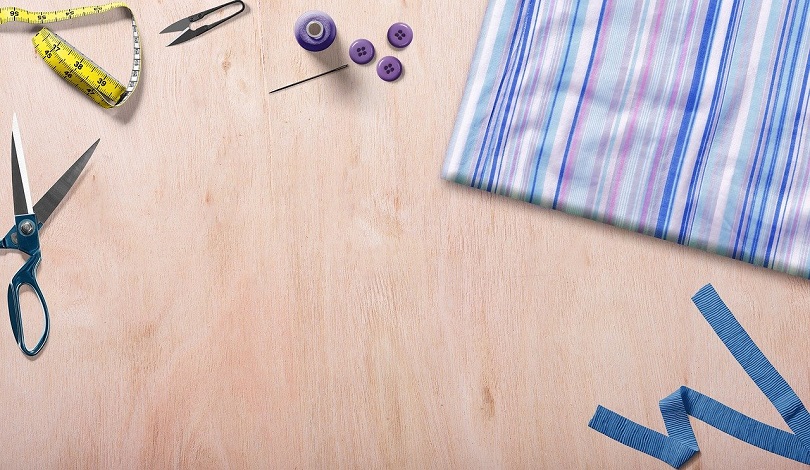
5. Prepare Your Fabric
If you haven’t cut your fabric already, now is the time to do so. You should leave at least one inch extra on all sides of the wood, as the fabric may shrink a bit when you start using the adhesive. You can trim the fabric later, but you can’t stretch it back out.
6. Apply the Mod Podge to the Wood
Spread the Mod Podge onto the wood in an even layer. You can use a paintbrush or a foam brush for this purpose. Dip your brush into the mod podge and start “painting” it onto the wood. It doesn’t have to be perfectly even, but don’t leave any large puddles.
Start on the outside and then brush it towards the middle, adding more as you need to. Mod Podge dries very quickly, so don’t spend too long painting. Aim for speed, not perfection.
7. Carefully Lay Down the Fabric
Next, carefully line up the fabric and lay it over the wood. If you left an inch extra on each side as we recommended, this step would be much easier, as you won’t have to get it perfect.
8. Smooth Out the Fabric
After you lay it down, there will probably be a few wrinkles in the fabric. We recommend smoothing out any wrinkles with your hand now, as you won’t be able to later. You probably won’t be able to get it perfect, but try to get the fabric as smooth as possible. Apply only a minimal amount of force, as you don’t want to squeeze the mod podge out.
You can also use a roller to roll over the fabric and get rid of the wrinkles. However, it is often easier to use your hands.
9. Let it Dry
You will need to leave the Mod Podge for at least 24 hours. While it does dry quickly, it can take a while to strengthen. It is better to leave it for too long than not long enough.
You can check and see if it is done trying by lightly tugging on the fabric’s edges. If it has some give, it is not completely dry yet.
10. Trim the Fabric
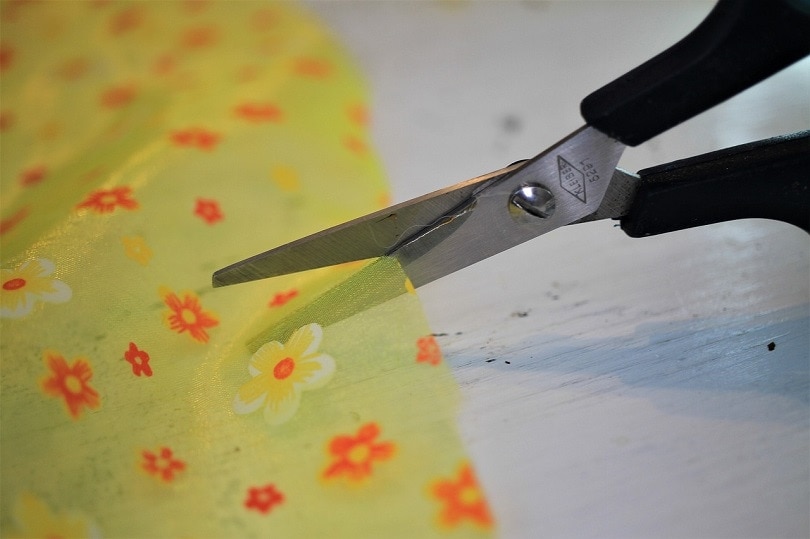
Now that the fabric has been attached to the wood, you can trim around the edges. This will give you a clean and finished look.
See Also:
- How to Glue Plywood Together: Step-by-Step Guide
- How to Glue Wood Together: Step-by-Step Guide (with Pictures)
Featured image credit: pozytywnewnetrza, Pixabay
Contents