
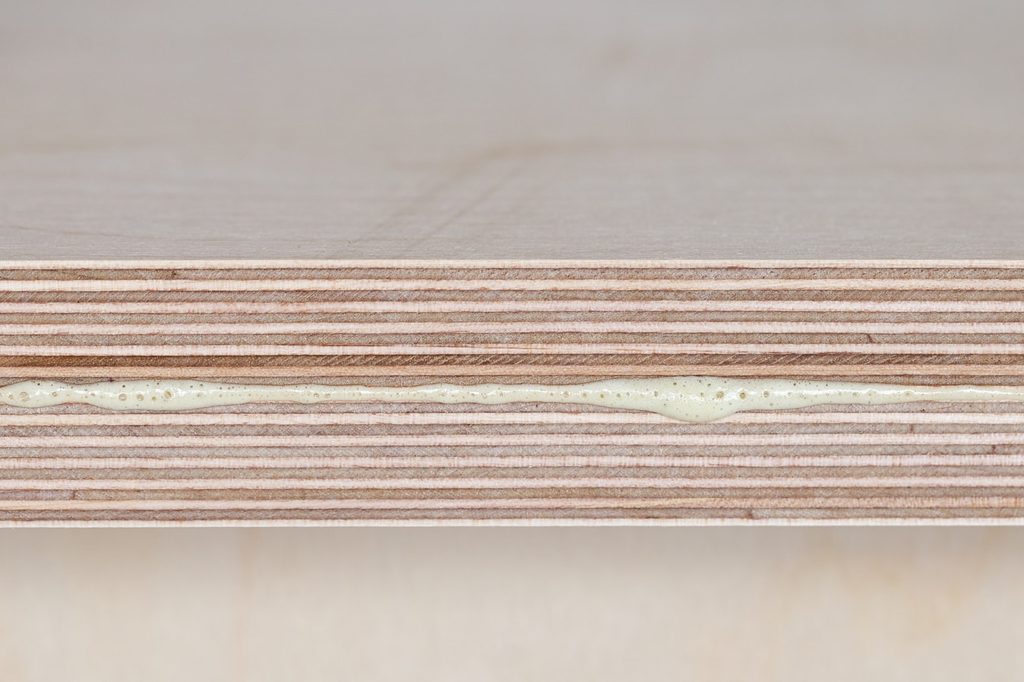
One of the advantages of using plywood for any project is that it’s strong. Each 4’ x 8’ sheet is composed of multiple layers of wood veneer. Each successive one goes in another direction to add tensile strength to the finished product. Surprisingly, archaeological evidence exists that the ancient Egyptians crafted a similar material.
Gluing two pieces together isn’t difficult as long as you’re using the right type for the project. The necessary tools are also essential to ensure they stay together. Our guide will walk you through the basics, from choosing your materials to finishing the job. We’ll also provide tips along the way to make it easier.
Before You Start
The success of your project depends on choosing the right type of plywood. First, you need to consider whether it’s appropriate for the intended use. Some of the plywood varieties you may find include the following:
- Soft plywood: Pine, spruce, cedar
- Hard plywood: Beech, oak
- Baltic birch plywood
- Marine-grade plywood
- Aircraft plywood: Spruce, birch
While it is somewhat resistant, plywood will show wear and tear over time. We suggest you consider using a protective coating or a plexiglass top if appropriate. Then, there are the tools you’ll need for the task. They include:
- PVA glue or epoxy
- 2–4 cauls
- Roller or squeegee
- Drill
- Wood or drywall screws
- Spare wood pieces
- Newspaper
- Sawhorses
- Work gloves
- Safety glasses

The 8 Steps to Gluing Plywood Together
1. Prepare Your Work Site.
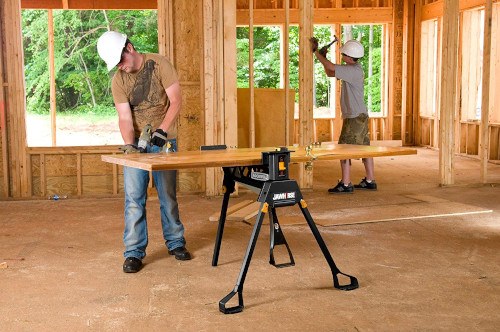
You’ll need a large space to work if you’re dealing with full sheets of plywood. Make sure that the area is free of obstructions and debris. Lay down newspapers to catch any adhesive. Then, space the sawhorses apart to distribute the weight of the wood evenly. Double-check that your entire workspace is covered before you start.
Alternatively, you can place the sheets on scrap pieces of 2’ x 4’. The essential aspect is to leave room for air to circulate, which can help the adhesive dry quicker. Bear in mind that you’ll spare your back by working on sawhorses.
2. Place the First Sheet of Plywood Onto the Sawhorses.
Inspect both sheets of plywood. Choose the best side between the two to be the people-facing one. Touch it up, if necessary, with some sanding with a fine-grade product.
Wipe it with a damp paper towel to remove the dust, and put the plywood evenly spaced on the sawhorses. If you’re alone, you can tilt the upright sheet away from you and slowly slide it onto the sawhorses.
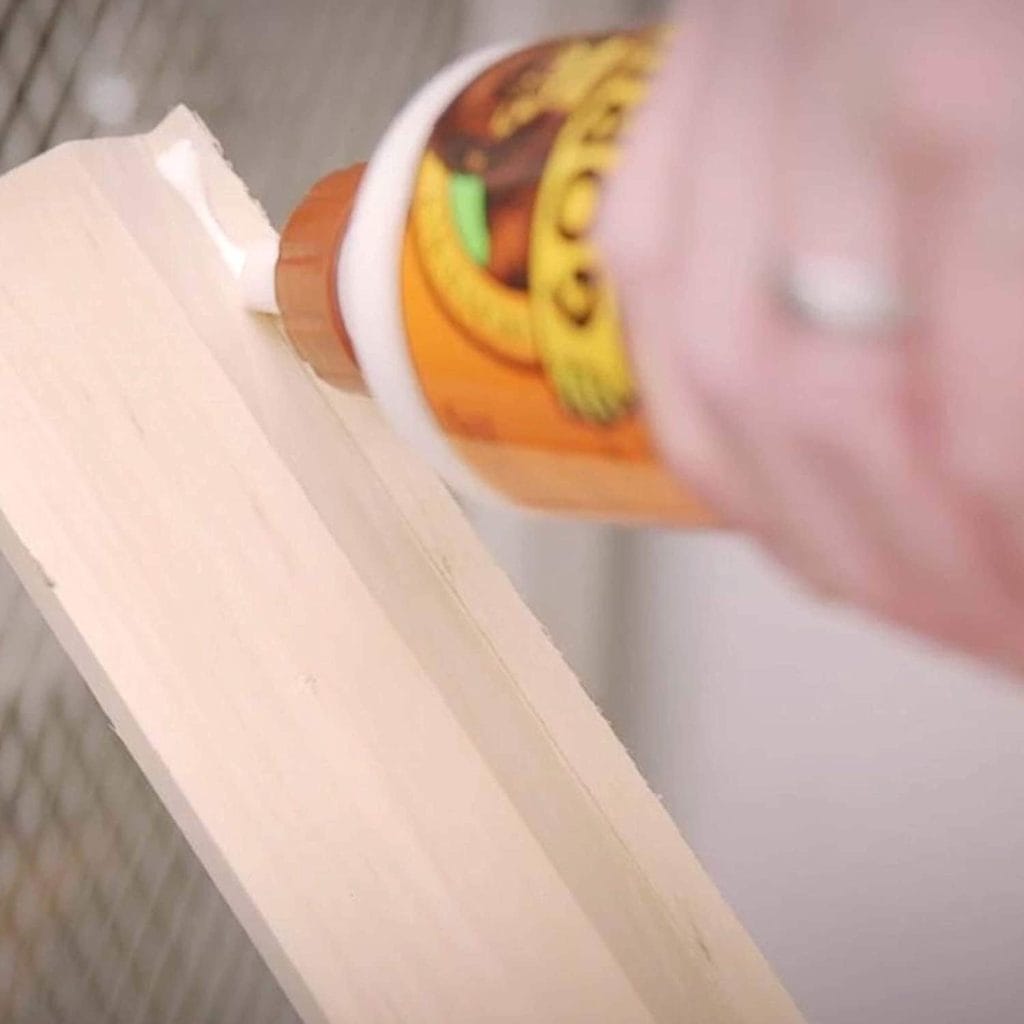
3. Apply the Adhesive Using a Roller or Squeegee.
You can use either PVA or wood glue for most projects. However, if it’s going to get a lot of use, you might consider epoxy instead, which will strengthen the seal. In either case, apply the adhesive on the entire sheet using a roller or a squeegee. You can use a scrap piece of wood to spread it across the plywood in a pitch.
4. Put the Second Sheet Over the Base.
You’ll likely need a buddy to help you with this task. You’ll have to act quickly while the adhesive is still wet. We suggest eyeballing the second sheet above the base before putting it in place to minimize the sliding. That can interfere with the even layer of glue or epoxy, which can affect the seal. Make sure all the edges are lined up evenly, and press down on the upper sheet.
5. Clamp the Sheets in Place.
Use cauls to clamp the sheets together. They differ from regular clamps because of the space they can cover. That’s essential when dealing with large pieces like full sheets of plywood. We suggest starting with one in the middle and then going to the ends to ensure they’re appropriately aligned. Screw them down to hold the sheets in place.

6. Drill Screws Into the Sheets.
We recommend using screws to hold the sheets together instead of weighing them down while the adhesive cures. It eliminates the risk of them bowing while securing them in place. You can use either wood or drywall screws. Wood screws have threads along the entire surface, but drywall screws only have threads that run to the tip. Drywall screws are preferable because of this feature.
Start with the center. Then, go to one end and the other. You’ll have to space them closer for PVA or wood glue because of the viscosity of the liquid. Epoxy is thicker, so you can put the screws farther apart. Use the drill to make sure they are flush with the top. You can keep them in for the finished product or remove them and fill the holes with more adhesive.
7. Allow the Adhesive to Cure as per the Directions on the Product.
The adhesive must cure before the two sheets are securely in place. We suggest following the directions on the product you use, erring on caution for the higher end of the spectrum. Don’t move the sheets during this time. Once they’ve reached their time, remove the cauls.
8. Finish the Project.
The glued sheets are now ready to use. You can follow up with whatever finish you want on the top side. Alternatively, you can forego the glue and just use screws. The advantage of this approach is that it’s easier to replace a sheet if you anticipate it getting a lot of wear. We suggest removing them if you plan to use the glued sheets for any electrical work.

Final Thoughts About Gluing Plywood Together
Gluing together two sheets of plywood isn’t hard. It’s all about paying attention to the details. Using screws is an excellent way to keep them together, which adds strength and durability to the end product. You’ll get years of use out of your plywood when done correctly. It’s merely a matter of the proper prep to make sure the plywood sticks.
Related Reads:
- How to Glue Wood Together: Step-by-Step Guide (with Pictures)
- How to Glue Metal to Metal: Step-by-Step Guide
- What is PVA Glue, and When Should it be Used?
Featured Image Credit: J. Lekavicius, Shutterstock
Contents