
Have you ever painted on something made of rubber, and within a matter of days, it was chipping off? Or perhaps you couldn’t even get the paint to stick to the rubber. The paints, technique, and type of rubber all make a difference in long-term results. If you’re going to spend the time and the money to paint on a rubber item, you want to make sure it will not only look good but also last for a long time.
This article will show you the right way to paint on rubber, whether an interior or exterior project. We will discuss how to prep the rubber surface, the best paints, and how to protect it to make it more durable.
Types of Rubber
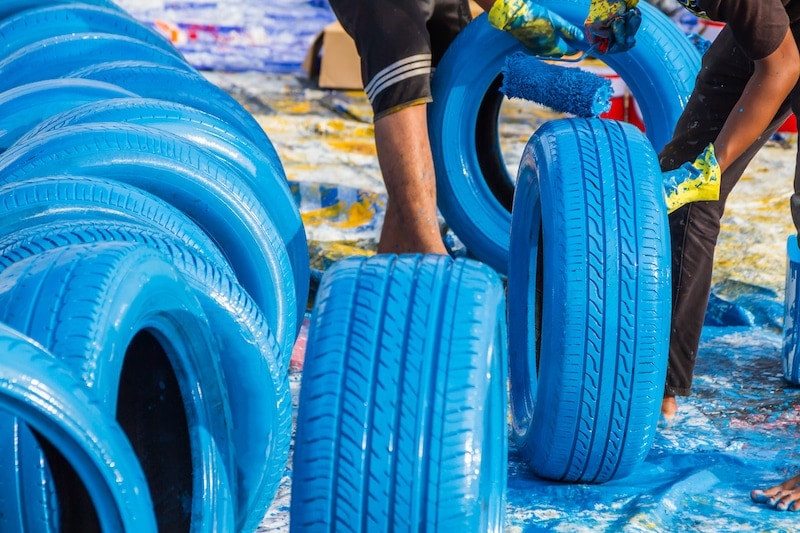
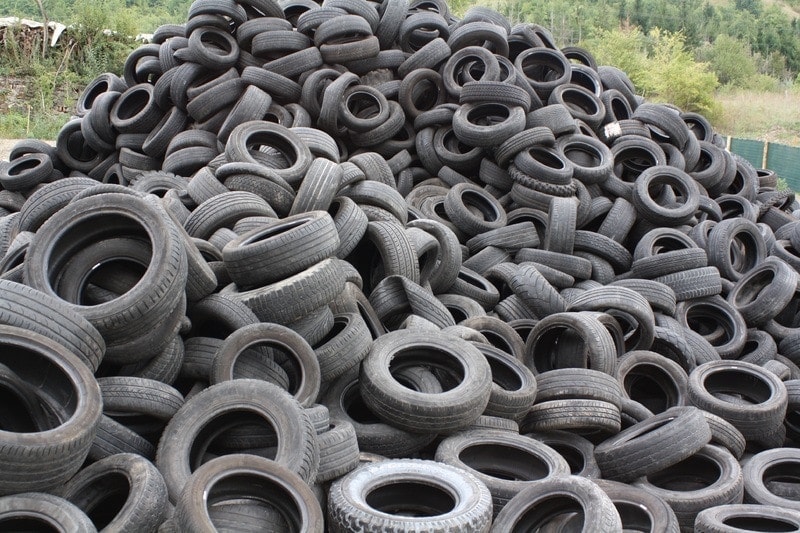
Not all rubber is created equal for painting. Many people will paint rubber tires to decorate their yards, or occasionally, you will see paintings on rubber rain boots. Rubber can be hard or soft, and the more malleable the rubber, the more difficult it will be to keep a coat of paint on it.
For example, if you were to paint lovely decorations on a rubber swim cap, it will be difficult for the paint not to crack due to the flexibility of the cap. But if you were to paint a hard rubber handle that doesn’t bend, the paint won’t crack, but it may peel or wear off with use.
Let’s discuss the best methods to paint rubber, including indoor and outdoor use.
Types of paint that work well on rubber
Removable rubber coating: This coating comes in a spray can and covers your item until you are ready to peel it off. It is a good option if you want to paint something that you aren’t 100% sure you want to remain that way. The spray allows you to try it out first. When ready to remove it, just pull it off.
Acrylic paint: This paint is intended for indoor projects. After allowing the first coat to dry, apply a second coat. Once completely dry, apply a paint sealer.
Exterior paint: First, you’ll use a coat of primer and then use a spray or a brush to apply the exterior paint. Exterior paint is more durable and can handle the outside elements.
Commercial-grade marine paint: This is for serious projects such as painting the rubber parts of a boat or swimming pool where they will be exposed to water. It is the most durable and will resist chipping, cracking, and fading.
Rubber Paint Process (5 Quick & Easy Steps)
- Clean your surface. If the object you want to paint is dirty. So, clean the surface well with soap and water, ensuring you thoroughly rinse off all the soap so that no residue is left behind. Allow it to completely dry because the paint won’t stick to wet surfaces either.
- Choose a paint that’s suitable for your project.
- Apply a primer if your paintable object will stay outside. Allow the primer to dry.
- Apply your paint; two coats will be needed for sufficient coverage. If using the removable rubber coating you won’t need two applications.
- After the paint has completely dried, apply a paint sealer. Read the instructions on the can to determine how long the paint takes to dry. Some products may appear dry on the surface, but if they haven’t dried all the way, they could still crack or peel.
Tips & considerations
- Spray cans offer a more even coat than painting with a brush.
- The removable rubber coating is great for filling cracks, leaks, and small holes in your rubber items.
- Follow the manufacturer’s directions to use each product safely.
- Sometimes roughing up the surface with gentle sanding will help the paint stick to the rubber surface.
- Keep in mind some paints will have the primer already incorporated, allowing you to paint and prime at one time.
Conclusion
Proper planning and knowing which type of rubber you plan to paint on will help determine which paint is the best to use. Spraying on the paint does a better job on rubber than brushing or rolling. Remember to clean the surface and allow it to dry between coats, and you will get great results.
Featured Image Credit: joker 1991, Shutterstock
Contents