
Your tools are sacred. Not only do they help you keep your life afloat, building and repairing as necessary, they’re also expensive and close to your heart. Though our tools might get abused and beat on while we’re working, most of us try to take great care of them the rest of the time so they keep functioning like new for many years. After all, a good tool can last a lifetime.
But corrosion is a constant force that’s working to destroy your hard-earned tools. It’s always lurking, waiting, ruining the finish of your tools with oxidation and causing more damage as the rust spreads. We all have to deal with rust, but that doesn’t mean the rust must remain.
We have some pretty extensive tool collections, and some of these tools are from a different era they’re so old. But after following the steps we’re about to lay out for you, an old and rusted relic can be made to look almost new, breathing new life into a tool that’s already given you years of great service.

Natural Solutions
Natural solutions are often the best choice when your tool is a bit corroded but not super rusty. If it’s covered all over in thick rust, you might skip the natural solutions and head straight for chemical solutions instead. But as the first line of defense, natural solutions offer an inexpensive and effective way to get rid of surface rust.
To utilize these natural solutions, you’ll be soaking your tools overnight. We’ll get more into that part in a bit, but for now, just remember which solutions sound best to you.
1. Vinegar
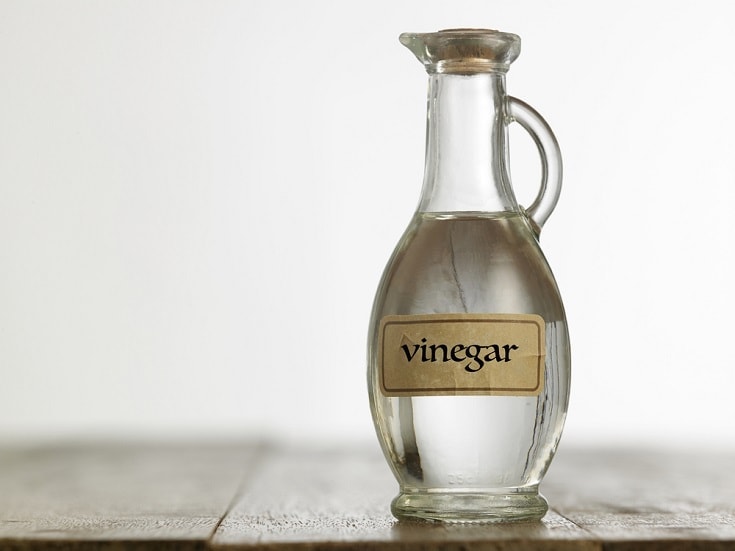
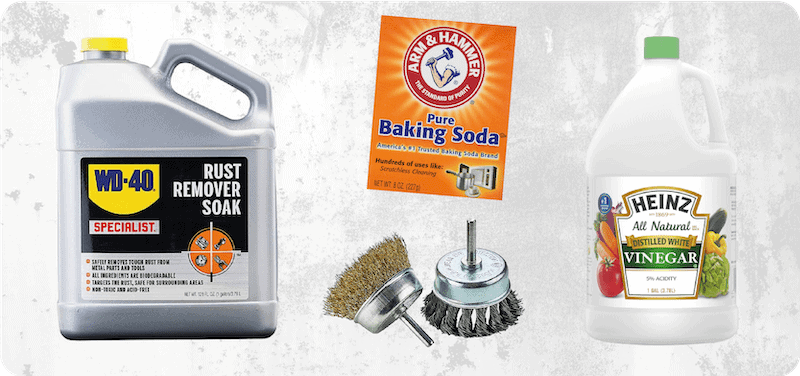
Vinegar is often used for cleaning, but it’s also great for removing rust from your old tools. The best part about using vinegar is that you won’t have to do anything with it; it’s ready to work straight from the bottle! It’s also very affordable, making it one of the cheapest ways to make your old tools look like new. Stick with simple distilled white vinegar; it works amazing and costs next to nothing!
2. Salt and Lemons
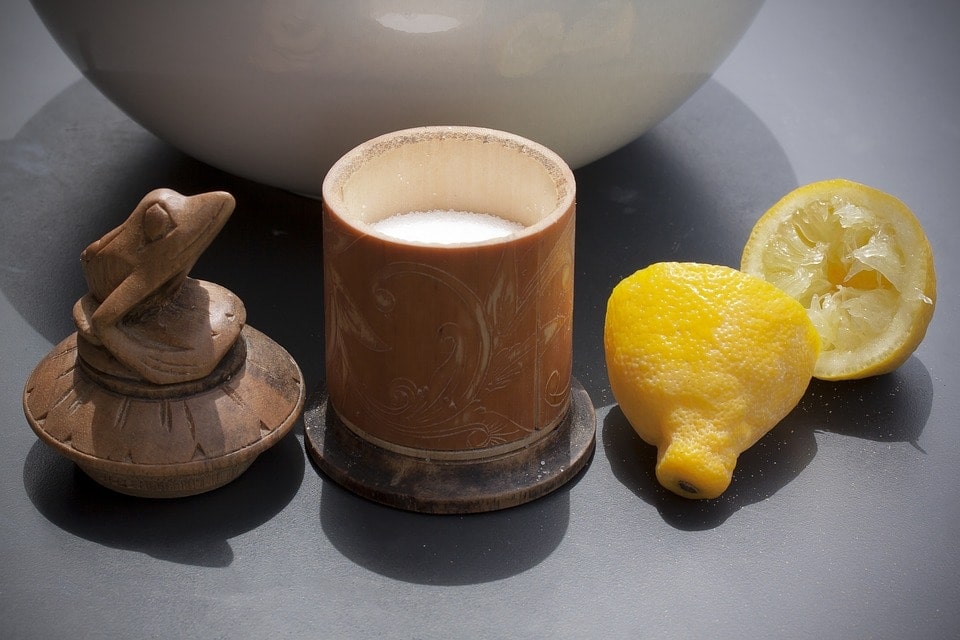
We’re not suggesting tequila shots — lemon and salt act as a killer rust remover! You’ll still be soaking your tools, but there are more steps required to use salt and lemons than vinegar. It would take quite a few lemons to fill a bucket enough to submerge your tools, making that an impractical solution. Rather, you’ll be coating your tools with salt, which acts as coarse sandpaper to help remove the rust.
Once coated with salt, you’ll need to squeeze the lemon juice over the tools and let the salt absorb it. Then, allow the tools to soak in the salt and lemon mixture for several hours at least.
3. Baking Soda
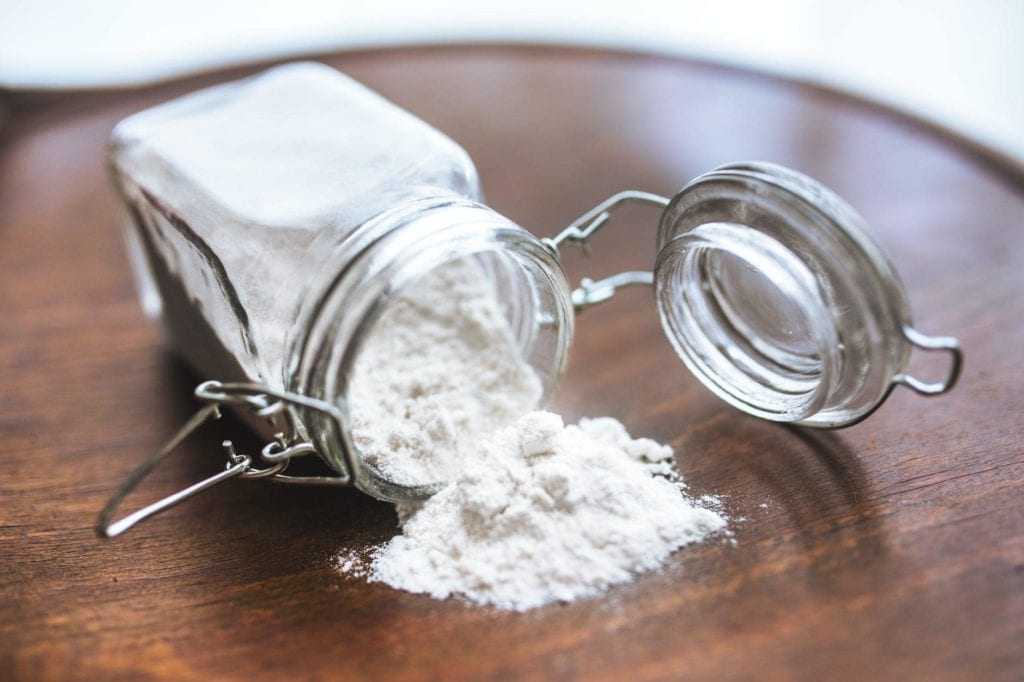
Baking soda is a known cleanser and whitener; it’s even used in toothpaste. Of course, it would be hard to soak your tools in powder, so we have to mix a little water into the baking soda to turn it into a paste. Once it’s nice and pasty, you can smear it all over your tools, giving them a good coating all over. Then, it’s time to let them soak so the Arm & Hammer can do its thing.
Chemical Solutions
Natural solutions are all well and good, but sometimes, you just need something stronger. When your tools are really rusty, it’s time to break out the chemical solutions for that extra firepower.
4. WD-40 Specialist Rust Remover Soak
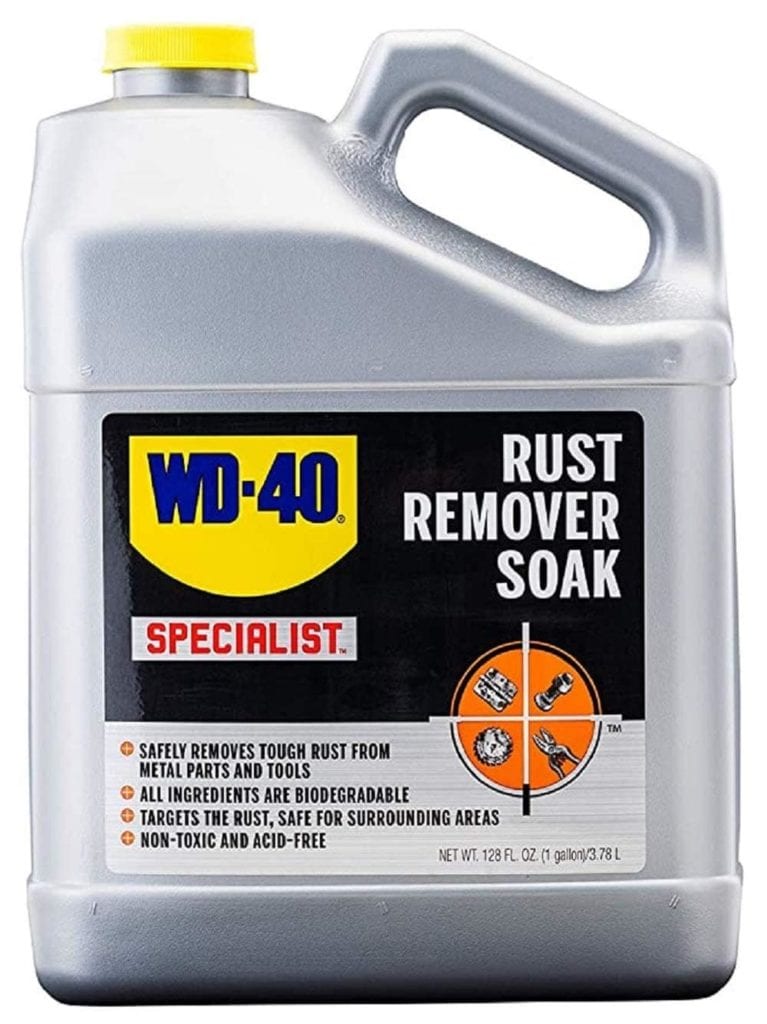
WD-40 is known for making lubricating spray, but you might not realize that it’s also great for removing or preventing rust. In this case, we’re not going to use standard WD-40 from a can though. Instead, we’ll be using their specialized rust remover soak. It comes in larger volumes, allowing you to easily soak your tools to remove the rust. Luckily, this formula is non-toxic and biodegradable.
5. CLR PRO
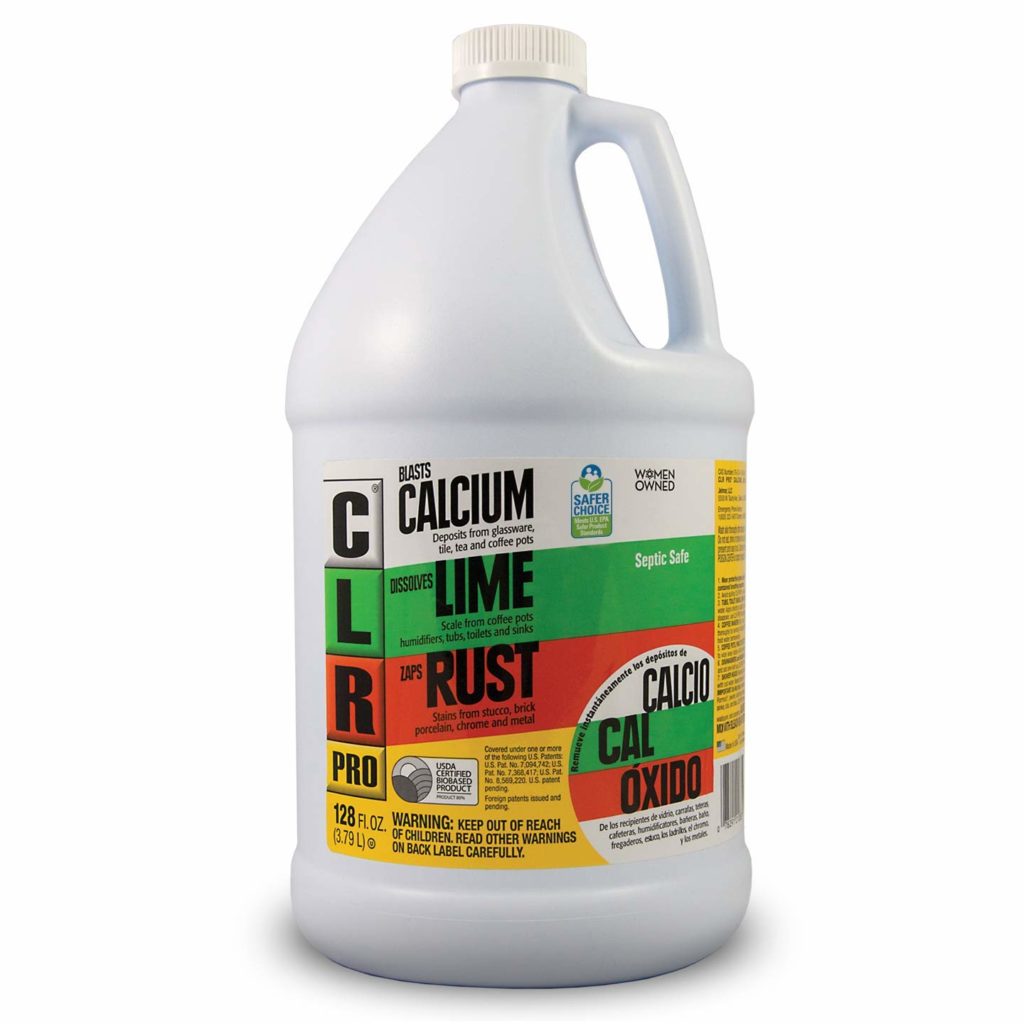
CLR stands for calcium, lime, and rust. CLR PRO is meant to remove any of these, making it a great choice for de-rusting your tools. It’s a bit cheaper than the WD-40 rust remover, though it still offers industrial-strength performance. It’s EPA certified and septic safe. Plus, you can use it afterward to remove those hard-water stains from your shower!
6. Rust Converter Ultra
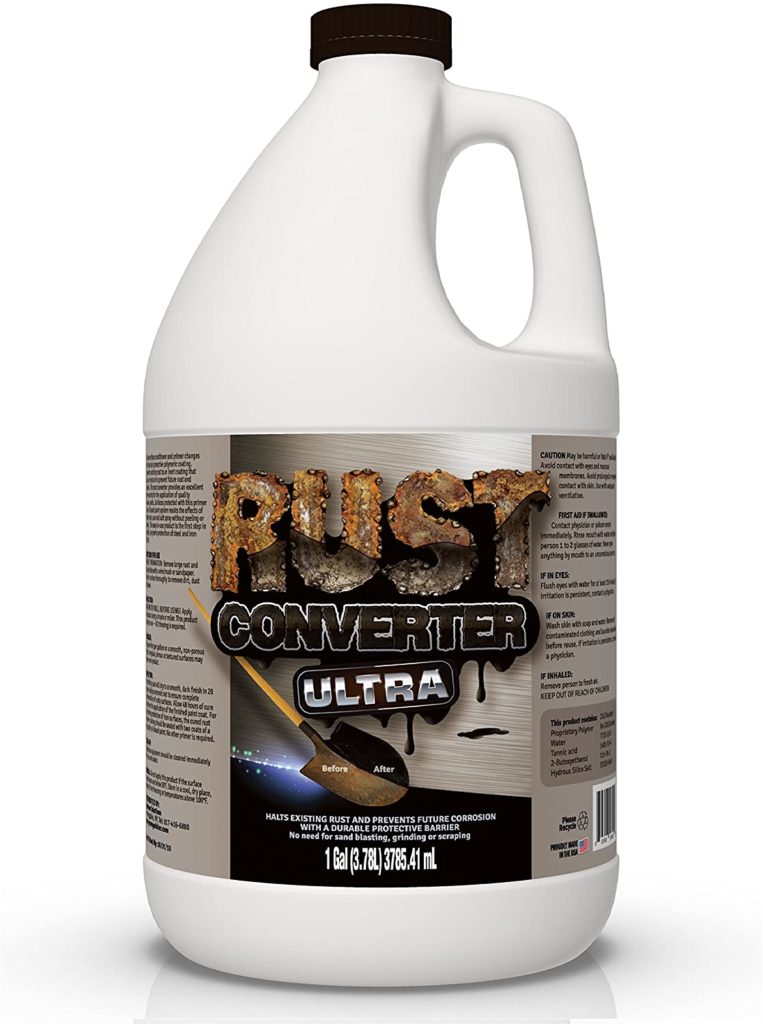
Of these three chemical solutions, Rust Converter Ultra is by far the most expensive. But it’s a very effective product that converts the rust into an inert coating. One gallon will de-rust up to 500 square feet! That’s a lot of tools.
Elbow Grease
Regardless of which chemical or natural solutions you choose to employ, you’re going to need to put a bit of elbow grease into your tools to really get them rust-free. This means you’ll need to scrub hard with something abrasive. You’ve got some options here, and they’re all great choices. Some of our favorites are:
- Sandpaper
- Wire brush
- Steel wool
- Wire wheel on a drill
The Process
Now you know all the different items we’ll be using, let’s get into the nitty-gritty of how you’ll actually remove the rust from your tools.
Step 1: Utilize Natural Solutions
First, we’re going to start with the natural solutions. You have several options, which we’ve already covered. Choose your favorite and gather what you need. Set up your tools in a bucket to soak in your chosen natural solution for several hours at the least. Better results are usually obtained by allowing them to soak overnight.
If your tools are incredibly rusty, you could skip this part and move straight to step three.
Step 2: Scrub-a-dub-dub
Letting your tools soak gives the natural solutions a chance to work their magic and start to de-bond the rust from your tools. That’s only part of the battle though. The natural solutions have done their part; now it’s time for you to do yours.
Using the abrasive item you’ve chosen, apply some elbow grease to your tools. You should see the rust flaking right off. If you’re lucky, this will take care of your rust problem and you can call it a day. But if your tools still show some signs of corrosion, you’ll need to take more drastic measures. On to step three.
Step 3: Chemical Assault
It’s time to bring in the big guns — chemical solutions. We’ve given you three choices that we trust, though there are other options you could choose. Regardless of what product you opt for, the process is the same.
Fill your bucket with the appropriate amount of your chosen chemical. Then, dump your rusty tools into it, ensuring they’re fully submerged. Allow them to soak for however long the bottle suggests. This could be a few hours to overnight.
Step 4: Sand it Down
It’s back to the elbow grease. This is becoming a pattern, isn’t it? Soak, scrub. Soak, scrub. Simple. Once you scrub down your tools after a good chemical soak, they should look like they’re practically brand new. If so, great! Skip to step six. If not, then you’ll need to move on to step five.
Step 5: The Last Resort
If you’ve tried everything and nothing seems to be working, it might be time to throw a Hail Mary. In this case, our final resort is electrolytic rust removal. Granted, this is a time consuming and complicated process. You’ll need quite a few things to make it happen, including a battery charger! But no matter how rusty your tools are, this method is nearly guaranteed to remove the rust. It will actually convert the rust into a harmless black coating that easily rubs off.
If you’re in need of some serious rust removal, check out this article on electrolytic rust removal to learn how to perform this process. Then, move on to step six.
Step 6: Rust Proofing
At this point, your tools look amazing. They might even look better than when you first bought them! But if you want them to remain nice and shiny, you’ll need to ensure that the rust can’t return.
You have two options here. The first option is to paint your tools. This is great for some tools, but out of the question for others.
Another choice is to use a rust inhibitor. Our favorite is the Boeshield T-9 Rust & Corrosion Protection/Inhibitor. You can easily spray it on your tools to offer waterproof rust protection.
Conclusion
No matter how rusty your tools appear, there’s a solution to remove that corrosion and refinish your tools. Even old tools can be made to look nearly new again with the right solution and a bit of elbow grease.
Featured Image Credit: Pixabay
Contents