
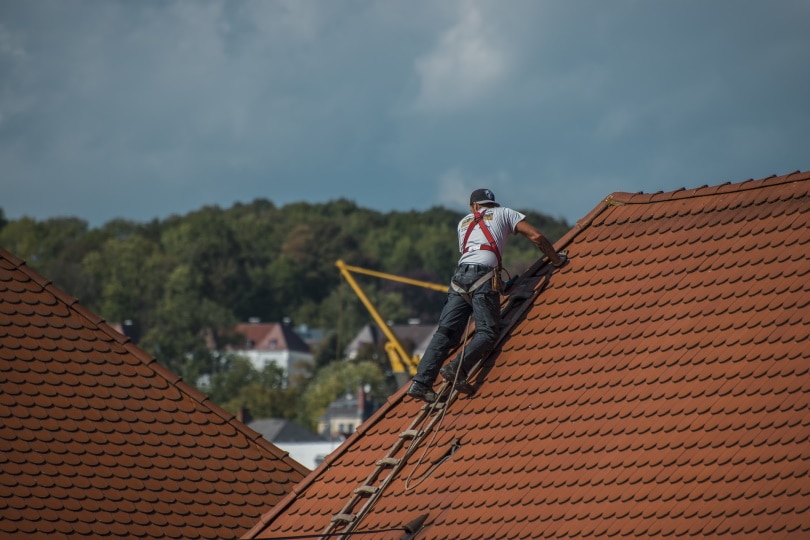
Before you start tearing off the shingles on your roof, make sure it is worth the cost. Doing it yourself can save you between $1,000 and $3,000, but it is a lot of hard work and does require some basic and intermediate tools to get the job done properly. It also requires working at height and especially facing down the roof, so if you aren’t comfortable doing this, you will need to get a professional contractor in.
Once completed and the shingles are off, you will be able to move on to buttoning up the roof with a water barrier and felt.

- Brooms
- Hammer tackers
- Hammers
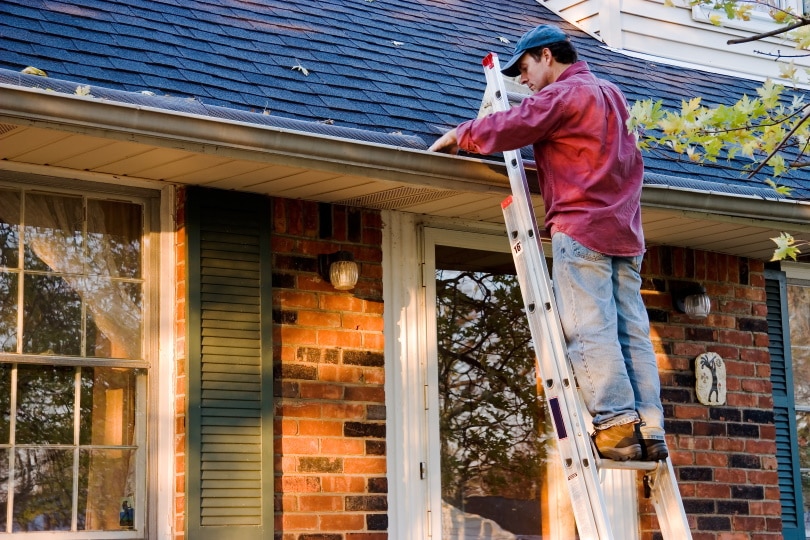
- Ladders
- Nails
- Pry bar
- Roof jacks
- Roofing shovel
- Staples
- Tarpaulin
- Plywood sheets or scaffolding boards
- Roofing felt
- Ice and water barrier
What Is The Best Tool For Removing Shingles?
The very best tool for shingle removal is a roofing shovel. It has a longer and narrower head than a shovel and also has a serrated end that will effectively remove the roofing nails at the same time as the shingles.
Most people don’t have a roofing shovel, however. You can try using a standard square shovel but it may take a little more work using one of these. A garden fork can also be used.
How Long Does It Take To Take Off Shingles?
Typically, it will take a professional team of four or five people one day to tear off shingles and clean up the area. If there are two of you with little or no experience, you can expect it to take several days to a week. This is where the tarpaulin can prove extremely useful because it will prevent the roof from getting damp overnight.
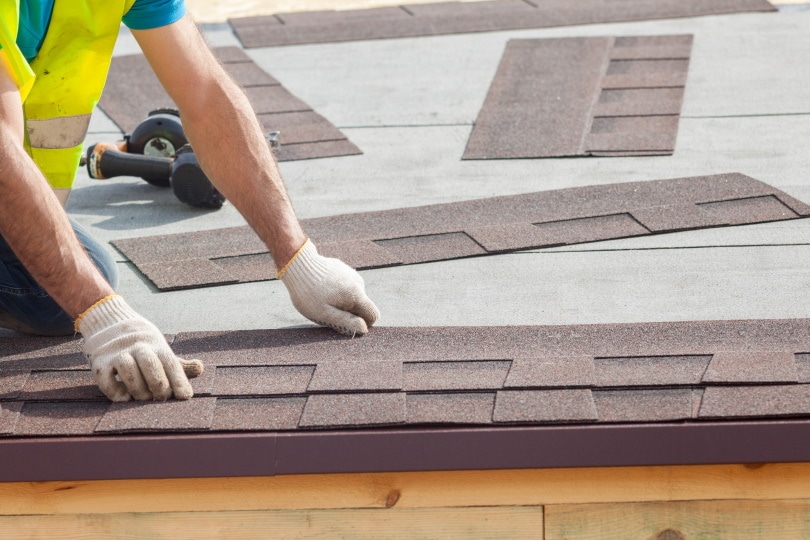
Removing Old Shingles
1. Prepare
You need to plan and prepare to remove shingles so that you can ensure you have everything ready for the removal, but also so that you are prepared for the installation of the new shingle roof.
Ideally, you will want a dumpster or other large waste container, and this will need to be booked in advance. Try and get it as close to your property as possible, and ideally at the side, so that you can throw shingles from the roof and into the container without having to get off the roof to do it. This will cut the work time down considerably.
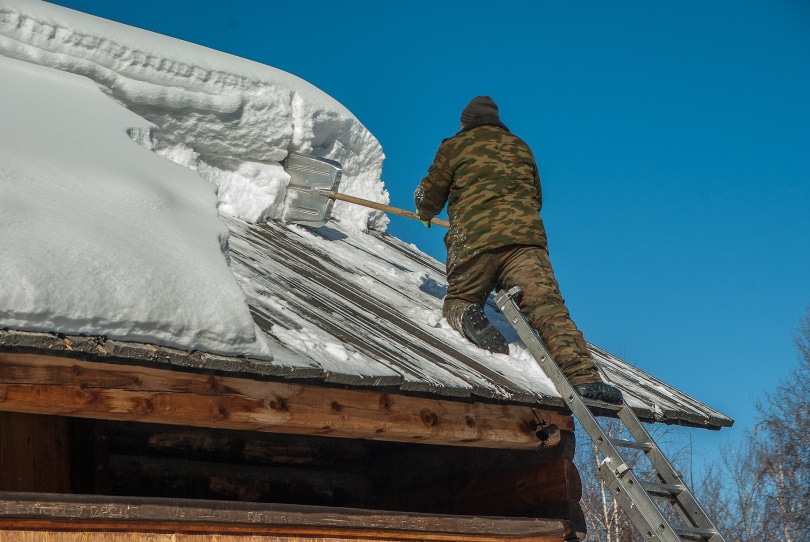
Although the weather can be unpredictable, you will want to do the work when it is dry because damp, sloped roofs are extremely perilous, and leaving a roof exposed to the elements without any protection can cause long-term damage.
Preparing in this way also enables you to rope in family and friends to help. Removing shingles is a big job and one that you won’t want to tackle alone.
Make sure you have all the required items before you start because the last thing you want to have to do when you’re halfway through a roofing job is head to the hardware store for a roofing shovel or another forgotten item.

2. Install Roof Jacks and Prepare the Roof
Roof jacks can be used to stand on, but they are also used as a platform to catch falling shingles before they reach and potentially damage your guttering and anything below the roof of your home.
Nail the jacks below the section you intend to clear first and ensure that they are strong and sturdy enough to prevent the shingles and you from sliding off the roof. Ensure the jacks are nailed into rafters using suitable nails.
Cover the air conditioner with plywood to prevent any damage and put a tarp over shrubs, trees, and anything else that could be damaged by flying debris. Even with jacks in place, it is likely that some debris will find its way to the ground.
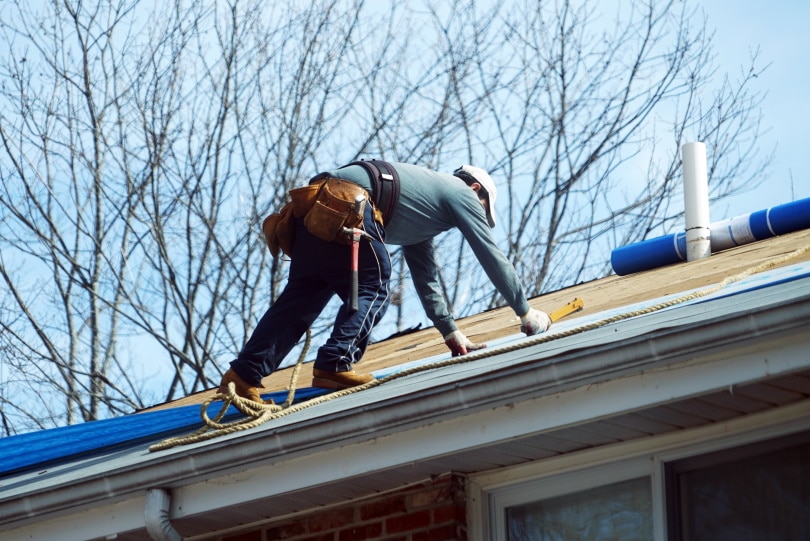
3. Be Safe
Wear long trousers, work boots, and long sleeves. The roof will get hot, even if the temperature isn’t too high outside. Put on safety glasses and wear a safety harness that attaches to an anchor at the top of the roof. There is no such thing as being too careful when working on the roof.
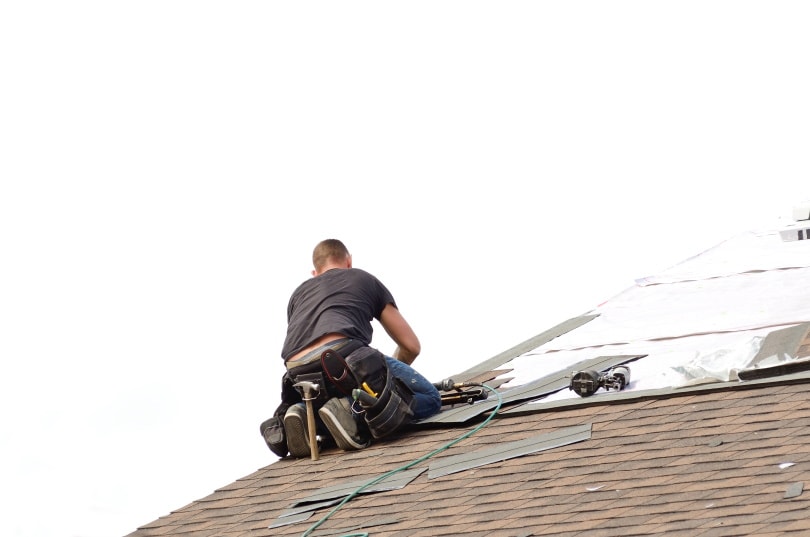
4. Start at The Top
Start at the very peak of the roof and start as far away from the dumpster as possible. Use your roofing shovel and tear away the caps and top layer of shingles. Allow the caps and shingles to slide down to the jacks. If they do not slide down, carry them over and throw them in the trash. Once the caps are out of the way, put the shovel under the top shingles and lift. Remove lengths of approximately three feet at a time, allowing the removed shingles and debris to slide down to the jack below.
5. Work Down
Once you’ve finished a three-foot stretch of the roof, move down and continue to work downwards until you reach the jack.
6. Discard Frequently
The shingles are very heavy and even a robust jack will eventually give way, or the pile of shingles will build up until they start to slide over the jack and down to the ground below. When you have accumulated a decent number of shingles, pick them up a small amount at a time from the jack, walk to the edge of the roof, and throw them into the dumpster.
7. Take Care Around Flashing
Take care around flashing. Some of the more difficult sections could be saved and repaired where they are. This is not only cheaper but easier than attempting to replace all of the metal flashing yourself.
8. Tear Shingles From The Roof Edge
Once you’ve cleared all of the shingles above the level of the roof jack, remove the jack and loosen the edge of the remaining shingles using the shovel. Do not completely remove them or they could damage your guttering and anything below. Once you have pried the edge of these shingles up and away from the roof, use your hands and pull them up a small piece at a time, and then throw these sections directly into the dumpster.
9. Scrape Away Ice and Water Barriers
You may find a water or ice barrier under the shingles at the edge of the roof. Some will likely come up as you remove the shingles, but some will remain, and you will have to scrape it loose before you can discard it. If you really can’t get it off, you can lay new underlay over the top.
10. Remove Valley and Vent Flashing
Use a bar and place it under the edge of any valley flashing to pry it loose. Continue to work down the valley flashing until you have completely lifted it from the roof and then carefully remove it. You should replace all of this flashing and do not plan on saving any.
11. Clean the Roof Down
Once the shingles are removed, you will have the potentially tedious task of nail removal. If you used a roofing shovel, you shouldn’t have too many nails left at this point, but if you used a fork, this could be quite an undertaking in itself. Use a broom to sweep debris and dirt from the roof and inspect for any damage or any sections that need repairing or replacing.
12. Button Up
Buttoning up means applying water and ice barriers to the roof. This is done at the roof edge and the barrier comes in rolls. Draw a chalk line 36 inches from the edge of the roof and then apply the barrier by lining it up with that line. This ensures that it covers all of the gutter flashings and provides the required protection. Once in place, tack the top of the barrier with staples. Once everything is laid out perfectly, roll the barrier back and remove the protective barrier from the adhesive layer, and stick it back down.
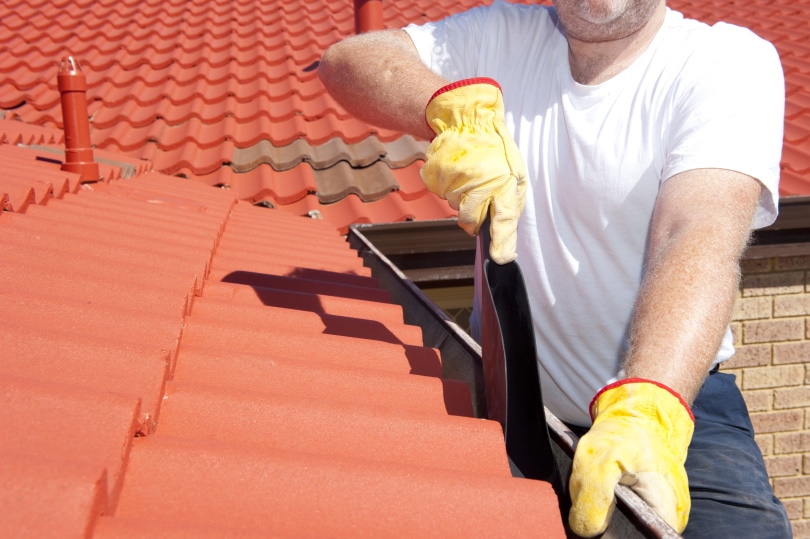
13. Clean Out the Gutters
Once the barriers are in place, remove all your tools and any other debris or items that are on the roof. Be sure to check in the gutters, because if you leave a brush or something else in there, it is likely to cause leaks when it next rains.
Removing Shingles
Most roofing shingles have a life of around 20 years, although yours might need replacing in less or more time than this. If you can see the shingles curling up at the edges, this is a sure sign that they need replacing and it is best to act sooner rather than later.
Once the old shingles have been removed and the roof has been cleared it is time for new shingles to be laid. No amount of ice barrier and tarpaulin can protect your roof from a downpour, so the reshingling needs to be done as soon as the old shingles are down to prevent leaks and to ensure that the roof is kept in good condition.
Do consider using professional contractors if you want to be assured of the best results, or if you are not confident working at such a height. If you don’t do a good job removing the old shingles, it can have a knock-on effect and leave a poor quality finish on any new roof installation.
Featured Image Credit: brizmaker, Shutterstock
Contents