House Grail is reader-supported. When you buy via links on our site, we may earn an affiliate commission at no cost to you. Learn more.
How to Sharpen Drill Bits (5 Different Methods)
Pete Ortiz
Last updated:
Has your drill bit been producing annoying shrieking noises every time you put it to work? Are you having a hard time drilling through wood and soft-metal? If you answered yes to either question, then your bit might need some sharpening.
You don’t have to run to the store every time to replace a dull, broken, or chipped drill bit. By sharpening the cutting edges, you can save yourself time and money. Although it might take some practice, you can achieve something close to a factory sharpen using any of the five DIY methods listed below. But let’s first outline the procedure.
Steps for Sharpening Drill Bits
When the drill becomes dull, resist the urge to push it harder against the material. Apart from damaging the bits, you risk injuring yourself. The procedure for sharpening bits is fairly simple, but it needs regular practice to perfect. Always wear safety goggles before you start. And avoid wearing gloves since they can get snagged on the grinding wheel, taking your hand along with them.
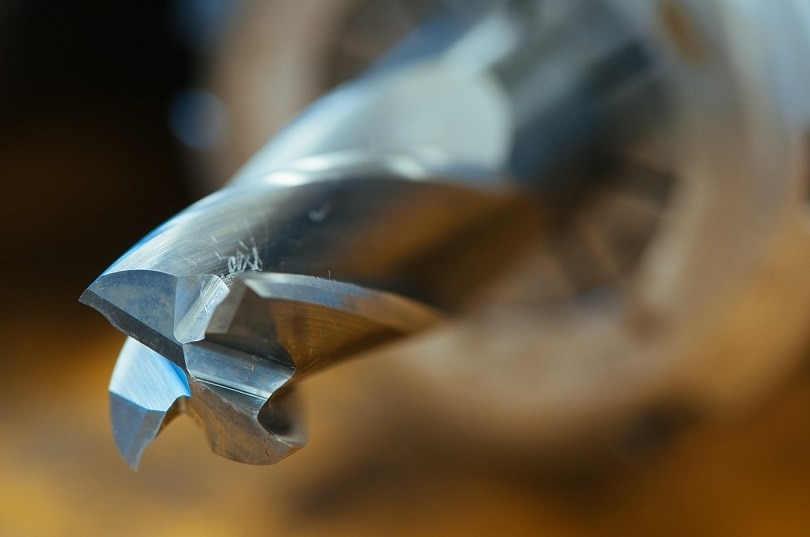
1. Examine the Dull Bit
Credit: blickpixel, Pixabay
Different bits will not wear out the same way. By examining them, you can tell how much of the metal you need to remove to keep the edge sharp. That will determine whether you need a course or fine grinding wheel.
2. Pick your Tool of Choice
Credit: Life-Of-Pix, Pixabay
Most sharpening tools are expensive, and you may not have the luxury of choice. However, most tools will work just fine provided you follow the correct procedure. If you have to choose among several tools, consider factors such as the type of grinding wheel (coarse or fine), ease of use, and the type of drill bit.
3. Hold the Bit Correctly
Credit: kropekk_pl, Pixabay
Hold the bit at a 60-degree angle against the grinding wheel using your dominant hand for guidance and the other for feeding. Since your hands will be too close to the grinding wheel, take care not to slice them.
4. Cut the Landing
Credit: Alexei_other, Pixabay
Slightly raise your left hand while still pressing the bit against the wheel for no longer than 5 seconds. Remember, the objective is not to wear down the bit but to grind through the dull surface.
5. Cut the Chisel
Credit: terski, Pixabay
To create a chisel angle, move your left hand to the right. The angle should be 45 degrees from the lip.
6. Shape the Landing
Credit: Capri23auto, Pixabay
Rotate or roll the bit counterclockwise to create a rounded landing. A well-rounded landing will provide the lip with more support.
7. Rotate the Bit
Credit: Bru-nO, Pixabay
Rotate the bit 180 degrees and repeat the previous three steps. That will ensure you sharpen the other lip too.
8. Repeat
Repeat the steps a couple of times to achieve maximum results. If the lips of the drill are not symmetrical, keep rotating the sides to ensure you don’t favor one over the other. Once you achieve this symmetry, your drill is ready for use.
Five Different Sharpening Methods
Now that you are familiar with the procedure, you might want to know what options you have when it comes to sharpening your drill bits. The following are some of them.
1. Using an Angle Grinder
Using an angle grinder is one of the most convenient ways to sharpen drill bits. But you may need to get a jig to make your work easier. To make a jig, get a scrap wood piece and drill a hole through it according to the drill’s point angle. For instance, if you have a 120-degree point angle, make a 60-degree line on the wood and drill through it.
After attaching the bit to the jig, place it on the bench. Use your hand to hold the bit while applying pressure against the hole. Afterward, grab the angler with the freehand while the bit is parallel to the wood’s surface and turn it on. Apply pressure against the bit to sharpen the land, and flip it 180 degrees to sharpen both sides. Once done, take the bit out of the jig and press it against the bench vice to sharpen the reliefs.
2. Diamond Files
Unlike most sharpening tools, diamond files are not electrically powered and are useful when sharpening drill bits that have an auger or pilot screw. Using a diamond needle file is one of the most practical ways to sharpen such kinds of bits without damaging them.
Naturally, hand filing takes longer than the standard power sharpening tools. However, using a diamond file is the only way to protect the delicate bit on the pilot screw from damage. The good thing is that you can sharpen drill bits using a diamond file with ease. The tool is quite affordable and will come in handy whenever you are far away from your power tools.
3. Using a Bench Grinder
One of the fastest ways to sharpen a drill bit is using a bench grinder. If you are like most DIYers, you probably own one already. All you need to do is strap on some protective clothing and start sharpening. The good thing is that the sharpening stone hardly wears out with light use.
Most bench grinders incorporate two sharpening wheels. One of them is coarse while the other is fine. The course wheel should handle most of the sharpening work before you switch to the fine wheel for the finishing touches. Thanks to the cold water by the tool’s side, you can preserve the structural integrity of the bit by dipping it in the water severally to cool it off.
However, freehand sharpening might take some getting used to. So, don’t expect to attain the same precision as with dedicated sharpening tools. Moreover, having your fingers too close to a rapidly spinning grinding stone is a risk not everybody is willing to take.
4. A Drill Doctor Drill Bit Sharpener
If you are looking for one of the most accurate tools for sharpening your drill bit, try the Drill Doctor Drill Bit Sharpener. Although the dedicated sharpening tool is quite pricey, it offers precision sharpening.
Unfortunately, a Drill Doctor doesn’t allow you to dip the bit in the water for cooling. Therefore, the drill bit may heat up and lose its structural integrity, especially when you sharpen it fast. Additionally, the tool can only sharpen bits. If you want to sharpen knives and scissors, consider spending more on a combination unit.
Like most commercial sharpening tools, the Drill Doctor has a fine grinding stone. Although they are useful for maintaining a smooth edge, they are slow in removing metals. That means it will take longer to sharpen very dull bits.
5. Using a Drill-Powered Bit Sharpening Tool
Using a drill-powered bit sharpener is one of the cheapest ways to sharpen drill bits. It will cost you significantly less than a dedicated sharpening tool, and the results are nearly as good. With just $20, you can get a small, portable, and easy-to-use sharpening tool. It takes very little time to set up, and you can use it whenever you’re far away from your workbench.
Cooling the bit as you sharpen will give you a cutting edge that stays sharp for longer. You can either dip the bit in water or wet it using a spray bottle. A drill-powered sharpener will help you maintain a smooth end on your bit, thanks to the fine grinding stone. However, it will take longer to grind through well-worn bits.
One common drawback with this kind of sharpener is the limit in the size of bits it can handle. Many will only sharpen bits of up to a half-inch in diameter. Moreover, the tool can be tedious to use since you must hold it firmly and position it correctly for accurate results. Although you can’t replace the sharpening wheel, the cost of replacing the entire tool is nearly the same as buying a new replacement wheel.
Conclusion
Drill bits are bound to get dull, broken, or chipped with time. Without a sharp edge, you will have a hard time drilling through even the softest of materials. Luckily, you don’t have to buy a new bit every time it wears out. You can now breathe new life into old and worn out bits that you would have otherwise thrown away. You no longer have to waste your money buying expensive replacements.
Featured image credit: stokpic, Pixabay
Contents
Writer
Pete Ortiz
Pete has been working in the trades since high school, where he first developed a passion for woodworking. Over the years, he has developed a keen interest in a wide variety of DIY projects around the home. Fascinated by all sort of tools, Pete loves reading and writing about all the latest gadgets and accessories that hit the market. His other interests include astronomy, hiking, and fishing.
As the founder of House Grail, Pete's primary goal is to help consumers make educated decisions about DIY projects at home, in the garage, and in the garden.